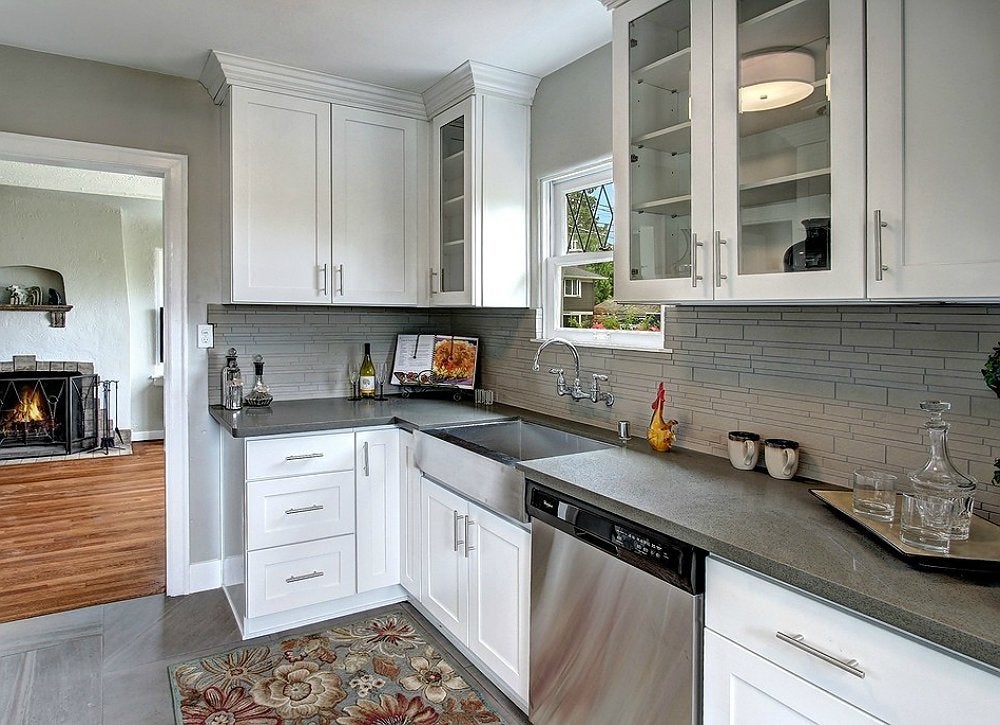
How To Put On Crown Molding On Kitchen Cabinets - Remodelando la Casa: Adding Moldings to your Kitchen Cabinets - Cabinet crown mouldings are the finishing touch for a kitchen renovation but you need to plan for them early in the project.
How To Put On Crown Molding On Kitchen Cabinets - Remodelando la Casa: Adding Moldings to your Kitchen Cabinets - Cabinet crown mouldings are the finishing touch for a kitchen renovation but you need to plan for them early in the project.. Pendant light, sconce, drawer pulls, cabinet latch, faucet, paneling, flat crown, paint color the shadow line. Place the crown molding at the top of the riser so it touches the ceiling and nail it in place to the riser (image 2). Installing nailer strips start by assessing the cabinets. Dry fit the crown molding by holding the front piece and a side piece against the front and side of the baseboard (image 1). And that can make installing crown molding super frustrating.
Pick one side of your cabinet to start with. Run a bead of glue along each piece of molding (image 1). These filler wood pieces should be held with screws on the top of the cabinets. Cabinet crown mouldings are the finishing touch for a kitchen renovation but you need to plan for them early in the project. Cut a mating angle on the next piece of crown, then apply carpenter's glue to end of molding.
putting crown molding on kitchen cabinets how to install crown molding on kitchen cabinets ... from i.pinimg.com Once the cabinets are bought (or built) and installed your options are limited to the situation you have in front of you. For scarf joints, do not turn the boards upside down. Crown molding that sits atop kitchen cabinets gives them a solid, finished look. Build a frame if necessary. In this video we will go over some tips and tricks that might help whe. Pick one side of your cabinet to start with. Measure along cabinet sides and around walls to get the length of each piece. Using a nail gun, nail the crown to the baseboard.
Use a pin nailer to nail into the corners of the two pieces of crown molding (image 2).
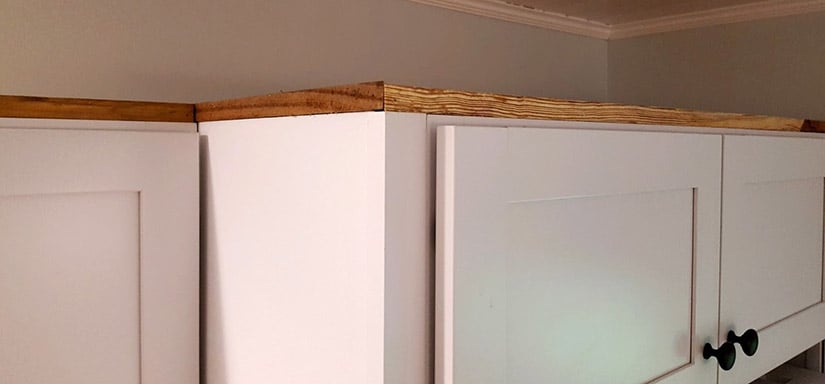
Use a pin nailer to nail into the corners of the two pieces of crown molding (image 2). For strength and stability, gussets are added to the top. Usually the angle will be around 35 degrees. Nothing is perfectly level and nothing is perfectly square. Ask this old house general contractor tom silva installs crown molding on kitchen cabinets with full overlay doorssubscribe to this old house: I was having a hard time figuring out how to miter the crown at the funky angles resulting from the weird cabinet shape. Once the cabinets are bought (or built) and installed your options are limited to the situation you have in front of you. Provide a nailing surface for crown moulding by attaching solid wood mounting strips to the top edges of the cabinets. 1 tools needed to cut crown molding for cabinets. Next, nail the wood structure pieces into place on the cabinets. Join the wwgoa community to access a huge library of woodworking instructional videos: Place the crown molding at the top of the riser so it touches the ceiling and nail it in place to the riser (image 2). As you mount the wood to the top of the cabinet, make sure it sits flush with the door.
Mount the crown molding to the cabinet using the brad nailer. Fill in all the nail holes with wood putty. Check out our video review and demo of adding crown molding to your kitchen cabinets. These filler wood pieces should be held with screws on the top of the cabinets. Usually the angle will be around 35 degrees.
Crown Molding Ideas - 10 Ways to Reinvent Any Room - Bob Vila from s3-production.bobvila.com I was having a hard time figuring out how to miter the crown at the funky angles resulting from the weird cabinet shape. And that can make installing crown molding super frustrating. You can use 1 x 4 lumber, and rip these into two or three strips. These filler wood pieces should be held with screws on the top of the cabinets. You can also notch them so the bottom of the angle will sit completely flush with the front of the kitchen cabinets. Place your tape measure on the edge of the crown and extend it to the length of one cabinet side. Cut at one mark, then move the molding along to the next mark. Build a frame if necessary.
If your crown is too short to cover the length of a side, you can combine two straight pieces together using a thin layer of glue.
Fill in all the nail holes with wood putty. The crown molding is completed on our kitchen cabinets, guys and i couldn't be more happy! Nothing is perfectly level and nothing is perfectly square. Next, nail the wood structure pieces into place on the cabinets. Learn how to angle cut the gussets and where to locate them on the top of the cabinet. Repeat this process with the rest of the cabinets with outside corners. Old houses are notorious for having uneven ceilings. House flipping brothers dave and rich show how to install kitchen cabinet crown molding and trim with tips.this video covers all aspects of cabinet molding i. Crown mouldings on varying cabinet heights. 1 tools needed to cut crown molding for cabinets. You can use 1 x 4 lumber, and rip these into two or three strips. How to install crown molding: Using a nail gun, nail the crown to the baseboard.
You probably forgot about that since it was two years ago. Join the wwgoa community to access a huge library of woodworking instructional videos: Cut at one mark, then move the molding along to the next mark. For scarf joints, do not turn the boards upside down. Hold the second piece of crown tight against the first piece, then nail it to the cabinets.
How To Install Crown Molding On Kitchen Cabinets from cdn.kitchencabinetkings.com Mount the crown molding to the cabinet using the brad nailer. Provide a nailing surface for crown moulding by attaching solid wood mounting strips to the top edges of the cabinets. Using a nail gun, nail the crown to the baseboard. Set your miter saw to 45 degrees. Crown molding can be tricky if you move too fast. And that can make installing crown molding super frustrating. For strength and stability, gussets are added to the top. The crown molding is completed on our kitchen cabinets, guys and i couldn't be more happy!
Cut a mating angle on the next piece of crown, then apply carpenter's glue to end of molding.
Cut the wood structure (holder) pieces at the same exact angle as the crown molding (aka: Measure and mark the front section of crown molding to the cabinet width. For strength and stability, gussets are added to the top. Place the crown molding at the top of the riser so it touches the ceiling and nail it in place to the riser (image 2). Make sure the pieces are together and in place snugly. Remember i said i was going to install crown molding on that cabinet to finish the room? Dave shows every step for installing crown molding on a cabinet with straight cuts. Use a pin nailer to nail into the corners of the two pieces of crown molding (image 2). As you mount the wood to the top of the cabinet, make sure it sits flush with the door. Mark where the crown molding will sit on the cabinet. >> get access to free printables, never miss a post and be the first to get diy inspiration from the home sweet roman blog <<. Crown molding can be tricky if you move too fast. 5 how to cut crown molding.